
If you run a made-to-order or custom embroidery store on Shopify, you already know that every order is unique. That’s what makes your products valuable — and what makes upselling them surprisingly tricky.
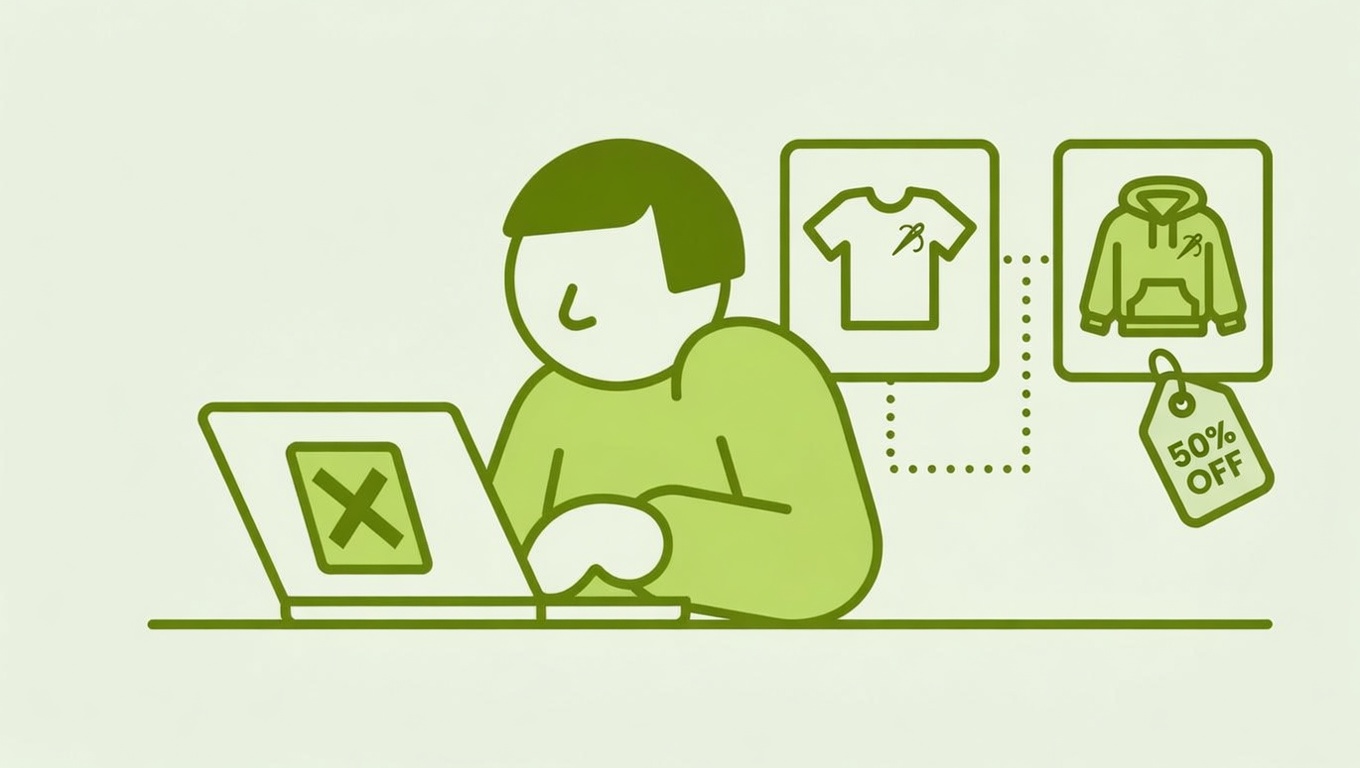
The scenario most custom store owners want to pull off: a customer configures their embroidery design on a T-shirt, and at the right moment you offer them a hoodie or tote bag with the same design at 50% off. No re-uploading. No re-selecting. One click, done.
The problem? Standard upsell apps know nothing about what your customer just configured. They’ll happily add a second product to the cart — but that second item arrives as a blank slate with zero context about the design.
Here’s how to actually solve this, depending on how far you’re willing to go.
Understanding the Core Challenge: Line Item Properties
When Globo Product Options captures a customer’s customization (an uploaded file, a monogram, a thread color choice), it stores that data as Shopify line item properties — key-value pairs attached to a specific cart line. They’re visible in Orders in your admin and flow through to packing slips and emails.
The catch: these properties live on one line item. They don’t automatically copy to another product added by an upsell app. The two items are entirely separate objects in Shopify’s cart, and most upsell apps have no mechanism to read the first item’s properties and replicate them onto the second.
This is a platform-level limitation, not just a Globo quirk. Any solution requires bridging that gap intentionally.
Option 1: Use Globo’s Built-In Add-On Product Feature
The simplest path — and the one that requires no extra app — is Globo’s native add-on product functionality.
Globo lets you attach an additional product directly to an option value in your option set. When a customer selects that option, both the main product and the add-on product are added to the cart together as separate line items.
Here’s how to set it up:
- Open your
Globo Product Optionsdashboard and navigate toOption Sets. - Select the option set applied to your base product (e.g., the T-shirt).
- Click on the option element where you want to attach the add-on (e.g., a “Add matching hoodie” checkbox).
- Click the Add-on price field — a popup will appear.
- Either auto-generate a new product inside the app, or select an existing product (e.g., your hoodie) from your catalog.
- Set the price at 50% of the hoodie’s normal price.
- Save.
When a customer checks that box, both the T-shirt and the hoodie land in the cart. Globo records the same session’s customization options on the main product line — and your team sees it in Orders.
Pro tip: Add-on products created by Globo can be hidden from your storefront’s collection pages with a small code snippet, so customers can’t accidentally find and buy the hoodie add-on independently at the discounted price. Globo’s support team can help you implement this if needed.
The limitation: The add-on product line item won’t automatically carry a copy of the uploaded design file. However, you can add a note in the option label (e.g., “Same design as main item — see above”) and train your fulfillment team to match the two line items by order. For most small to mid-size custom shops, this manual link is perfectly workable.
Option 2: Add a “Same Design” Checkbox That Pre-Fills a Note
If you want the cart to be more explicit for your production team, add a dedicated checkbox option inside Globo on the upsell product itself:
- Label:
Apply same design as my [T-shirt] — I confirm the design above applies - Type: Checkbox
- No extra price
This creates a line item property on the second product that reads something like Apply same design: Yes. Your team can then cross-reference the two order lines without ambiguity. It’s low-tech, but it works reliably and costs nothing extra.
Option 3: Cart-Level Upsell App + Manual Design Carry-Over
If you want the upsell to appear after the customer finishes configuring (rather than as a checkbox during configuration), a cart-level upsell app is your best bet.
Apps like ICU In Cart Upsell & Cross Sell or Selleasy let you trigger a product offer when a specific item is in the cart, and you can attach a discount to that offer. The workflow looks like this:
- Customer finishes configuring the T-shirt and adds it to the cart.
- The upsell app detects the T-shirt in the cart and presents: “Add a matching hoodie with your design for 50% off.”
- Customer accepts — the hoodie is added as a second line item.
For the design carry-over, you pair this with a cart note or a Globo checkbox on the hoodie that says: “Apply design from T-shirt in this order.” Not automated, but clean and clear.
Warning: Do not rely on any upsell app to automatically read and replicate Globo’s line item properties onto the second product. No mainstream upsell app currently does this natively. Any solution claiming otherwise will need custom development to verify.
Option 4: Custom Development With Shopify’s Cart API
If you’re doing high volume and the manual approach doesn’t scale, this is genuinely solvable with a small JavaScript snippet on the cart page.
The logic:
// Pseudocode — requires a developer to implement properly
// 1. Read line item properties from the main product (e.g., uploaded file URL, color, monogram)
// 2. When the upsell product is added to the cart via the Storefront API or Ajax Cart API,
//    inject those same properties onto the second line item
// 3. The second line item now carries a reference like:
//    { "Design": "[same as T-shirt — File: abc123.png]", "Discount reason": "50% add-on" }
This requires a Shopify developer familiar with the Ajax Cart API and Shopify’s properties[] field naming convention. It’s not a weekend project, but it’s not a massive engagement either — a few hours of scoped work for a competent Shopify developer.
Applying the 50% Discount: Your Options
Whichever approach you choose for carrying the design, here’s how to apply the actual discount to the second item:
| Method | How it works | Best for |
|---|---|---|
| Globo add-on pricing | Set the add-on product price at 50% manually | Simple setups, low SKU count |
| Shopify automatic discount | Create a Buy X get Y discount in Discounts | Native, no extra app |
| Upsell app discount | ICU, Selleasy, etc. apply a % discount when offer is accepted | Cart-level upsell flows |
| Compare-at price | Set the hoodie’s compare-at price in Products and use a dedicated variant | Visual discount display |
For most custom embroidery stores, Globo’s add-on pricing + a compare-at price on the add-on product is the cleanest combination. The customer sees the original price crossed out, the 50% price applied, and your team sees both items clearly in the order.
The Fulfillment Side: Don’t Overlook This
The real risk with any multi-item custom order isn’t the front-end setup — it’s production confusion. Before going live:
- Make sure your
Packing slipsinSettings → Shipping and deliveryshow line item properties (Globo syncs these automatically). - Add an internal order note convention: e.g., “Line 2 uses same design as Line 1 — see upload.”
- If you use a production management tool, verify it reads Shopify line item properties correctly.
- Test the full flow with a real order before launching the upsell publicly.
There’s no single perfect app that does all of this out of the box today. But with Globo’s add-on product feature as the foundation, a clear labeling convention, and the right discount method, you can build a custom-design upsell flow that works for your team and feels seamless to your customers.