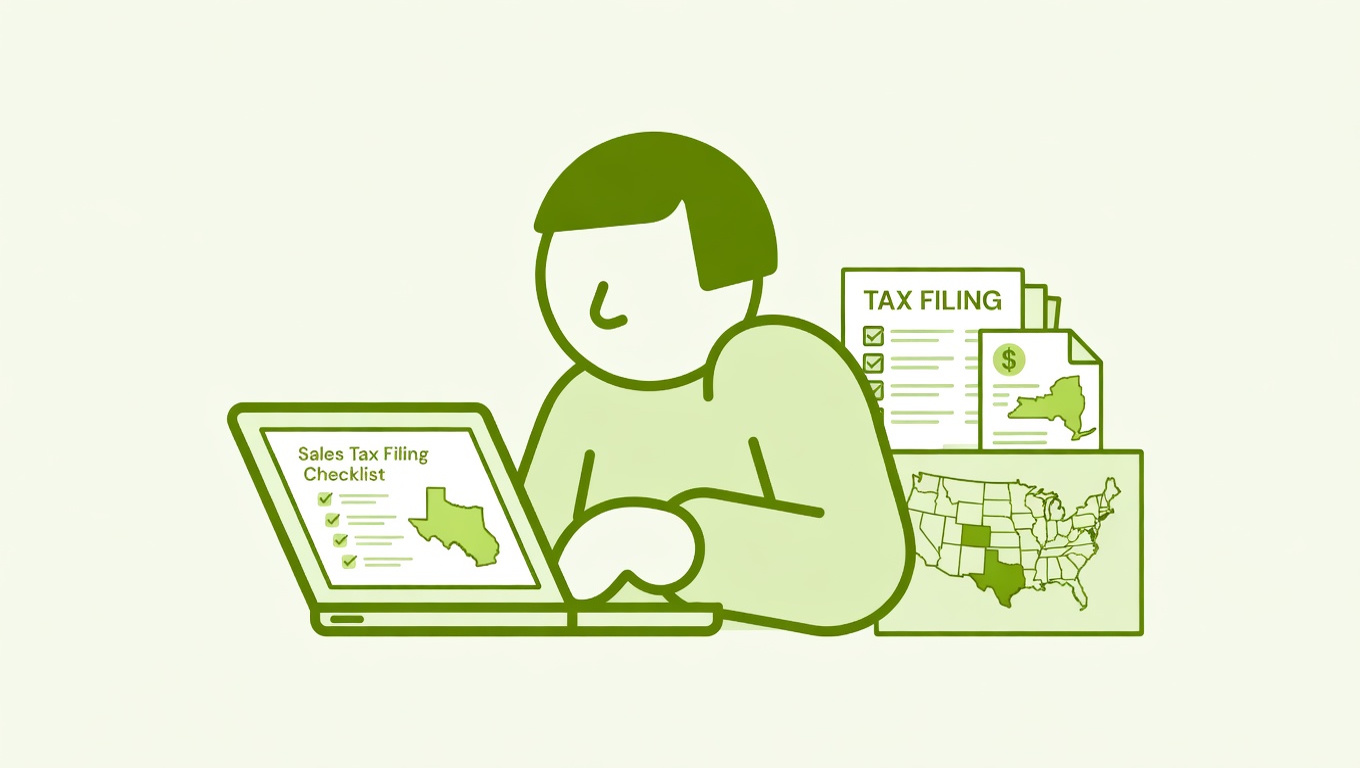

If you’re coming from eBay, Amazon, or Etsy, sales tax on Shopify can feel like a rude awakening. On those platforms, the marketplace handles tax collection on your behalf. Shopify works differently — and if you don’t set it up correctly, you could end up personally on the hook for uncollected taxes.
Here’s what you actually need to know.
Shopify Is Not a Marketplace Facilitator
This is the most important thing to understand first. Unlike Amazon or eBay, Shopify is not a marketplace facilitator. That means Shopify isn’t required to collect and remit sales tax on behalf of its sellers. The responsibility falls entirely on you as the store owner.
As Shopify’s own documentation states: tax is your responsibility. Shopify provides the tools to help you collect it correctly — but it won’t flip the switch for you, and it won’t file anything automatically on your standard storefront.
Warning: It is illegal to collect sales tax in a state where you don’t have a registered sales tax permit — even if you plan to remit the money later. Don’t activate tax collection in a state until you’ve registered.
Step 1: Understand Where You Have “Nexus”
Before you touch any settings, you need to figure out where you’re legally required to collect sales tax. This comes down to a concept called nexus — your connection to a state that triggers a tax obligation.
There are two main types:
- Physical nexus — You have an office, warehouse, employees, or inventory stored in the state.
- Economic nexus — You’ve sold enough into a state, even without any physical presence there.
Economic nexus is the one that catches most new Shopify sellers off guard. Since the 2018 Supreme Court ruling in South Dakota v. Wayfair, every state with a sales tax now has economic nexus laws. Most states use a threshold of $100,000 in annual sales, though states like California and Texas set theirs higher at $500,000. Some states also have a transaction-based threshold (commonly 200 transactions per year), though many states have been rolling this back.
The practical upshot: once you cross a state’s threshold, you must register for a sales tax permit in that state and start collecting.
Pro tip: You almost certainly have nexus in your home state from day one — that’s where you should start.
Step 2: Register for a Sales Tax Permit
This step happens outside of Shopify. You need to go to each state’s Department of Revenue website and register for a sales tax permit. Most states don’t charge a fee to register, though some charge a small amount in the range of $10–$100.
Once you’re registered, the state will tell you how often you need to file — monthly, quarterly, or annually. For most small stores just getting started, quarterly filing is common.
Only after you have a permit number in hand should you configure Shopify to collect tax in that state.
Step 3: Configure Tax Collection in Shopify
Shopify has built a capable tool called Shopify Tax directly into your admin. Here’s how to set it up:
- Go to
Settings → Taxes and duties - Under Manage sales tax collection, click United States
- Click Add new state and select the state where you’re registered
- Enter your Sales tax ID from your permit
- Optionally configure shipping tax (some states tax shipping, some don’t)
- Click Collect taxes
Repeat for every state where you have nexus and a registered permit.
Shopify Tax uses rooftop-level accuracy — meaning it calculates the correct rate based on your customer’s precise address, not just their zip code. This matters because tax rates can vary at the county and city level across more than 11,000 US jurisdictions.
Shopify Tax also includes product categorization, which automatically suggests a tax category for each of your products so you’re charging the correct rate. Not all products are taxed equally — some states exempt groceries, clothing, or medical supplies. Assigning the right category to your products protects you from over- or under-collecting. You can manage this at Products → All products by editing each listing.
What Does Shopify Tax Cost?
Shopify Tax is free on your first $100,000 in global sales per calendar year. After that, a calculation fee of 0.35% per order applies (capped at $0.99 per order, and reduced to 0.25% for Shopify Plus merchants). All Shopify plans are eligible.
Step 4: Set Aside the Money You Collect
Here’s a trap a lot of new store owners fall into: the sales tax you collect sits in your Shopify Payments payouts mixed in with your revenue. When quarterly filing rolls around, some merchants have already spent it.
The solution is Shopify Balance’s sales tax set-aside feature. If you use Shopify Balance as your payout account, you can enable a dedicated sub-account that automatically pulls the collected sales tax out of each payout and parks it separately — so it’s there when you need to file.
To activate it: go to Balance → Settings → Sales tax account → Turn on.
A few things to be aware of:
- This only works with Shopify Payments and Shop Pay Installments payouts
- It doesn’t pull from previous payouts — only future ones once it’s activated
- Refunds and chargebacks can affect the balance, so always cross-check before filing
This won’t replace doing the actual accounting, but it’s a simple way to avoid the nasty surprise of owing money you’ve already spent.
Step 5: File and Remit
Shopify collects the tax. You still have to file the returns and send the money to each state. Shopify Tax includes enhanced sales tax reporting that lets you filter by state and filing frequency, giving you a jurisdiction-level breakdown ready to hand off to your accountant or use to complete your state’s online filing portal.
Most states now require or strongly recommend filing online. Check each state’s Department of Revenue website for the specific process and deadline.
Should You Use a Third-Party Tax App?
For most stores just starting out, Shopify Tax is enough. It handles calculation, nexus tracking, and reporting — and it’s already built into your admin.
As you grow and start hitting nexus in multiple states, you might consider a dedicated sales tax service. Here’s a rough comparison:
| Tool | Best For | Key Feature | Filing Included? |
|---|---|---|---|
| Shopify Tax | Most Shopify stores | Built-in, rooftop accuracy | Optional (paid per return) |
| TaxJar | Small to mid-sized stores | AutoFile, easy Shopify integration | Yes |
| Avalara | Large/multi-channel sellers | Global tax coverage, complex rules | Yes |
| TaxCloud | US mid-market brands | SST certification, transparent pricing | Yes |
| Numeral | Hands-off approach | Fully managed, white-glove service | Yes |
For companies selling exclusively through Shopify at moderate volume, Shopify Tax paired with its built-in filing option is often sufficient. Once you’re managing sales across multiple platforms or have nexus in many states, a dedicated third-party service starts to make more sense.
Pro tip: If you use any automation tool, double-check it’s still active after every app update. There have been cases where software updates inadvertently disabled tax collection on live stores — and neither the app nor the state will cover the shortfall.
Keep an Eye on Nexus Thresholds
Sales tax isn’t a set-it-and-forget-it situation. As your store grows, you may cross new state thresholds. Shopify Tax’s liability insights dashboard shows you a state-by-state view of where you’re approaching or have crossed thresholds — check it at least quarterly.
When you do cross a threshold in a new state, you typically have 30–60 days to register before you’re required to collect. Don’t wait until you’re filing a return to discover you were supposed to have been collecting for the past six months.
And one more thing worth repeating: talk to a tax professional. Sales tax law changes constantly — states are regularly updating thresholds, adding or removing transaction-based rules, and clarifying product taxability. A good accountant who works with e-commerce sellers is worth every dollar.